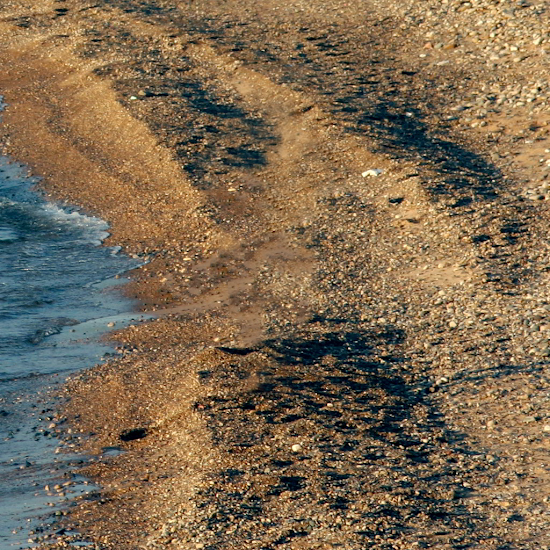
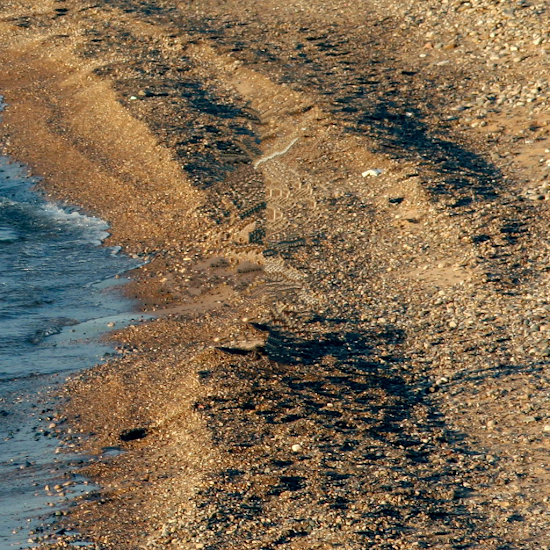
Of course, if you’re reading me occasionally you’ll remember that last time I got a chance to work on something with G'MIC, we ended up making some fun film emulation presets. This time I’m not involved other than to play, and it’s really neat!
It is the latest work on the patch-based inpainting algorithm.
The rest of my GIMP tutorials can be found here:
Getting Around in GIMP
My previous look at using the Resynthesizer/Heal Selection plug-in:
Getting Around in GIMP - Heal Selection (Resynthesizer)
Getting Around in GIMP
My previous look at using the Resynthesizer/Heal Selection plug-in:
Getting Around in GIMP - Heal Selection (Resynthesizer)
I had previously written about using the Resynthesizer plug-in (with the Heal Selection script) for GIMP to produce results similar to Photoshop’s “Content Aware Fill”, but I think at this point I’m going to switch over to using G'MIC full-time for this type of work.
What the algorithms basically do is take a given region in an image that needs to be replaced, search around that region for textures to fill it with, determine what works well, then fills it in (see the previous post for a visual explanation of this).
Well, the folks over at G'MIC have been working hard on improving their algorithm for doing this type of inpainting, focusing on results and speed. Let’s have a look...
G'MIC Inpainting
I’m using some examples from my previous post on Resynthesizer so we can compare the results. To access the command, it will be in G'MIC:Filters → G'MIC
then,
Repair → Inpaint [patch-based]
then,
Repair → Inpaint [patch-based]
A major difference between Inpaint and Resynthesizer is the ability to fine-tune the algorithm for your image. Resynthesizer only really has a couple of parameters - how big of a search area to use around your selection, and to restrict the texture search to all-around, sides, or top/bottom.
By contrast, here are the parameters for the Inpainting [patch-based] algorithm:
In speaking with David, the primary parameters that one would use to adjust the results would mainly be the Patch size, Lookup size, and Blend size.
To experiment, I just created a duplicate of my base layer, made a freehand selection around my object to remove, sharpened the selection, and filled it with bright red (to match the mask color indicated in the G'MIC window):
So, let’s have a quick run with the same selection as above, but with the default settings to see where things stand:
Not too bad with the defaults. Not too good either, though.
As I said earlier, what’s really nice about the G'MIC Inpainting vs. Resynthesizer is that I can tune the parameters to my liking...
Tweaking
As I understand it from David, the Patch size parameter adjusts the size of the area that will be copied from the surrounding texture to place into the region. The Lookup size adjusts how far away from the inpaint region to look for new textures (similar to “sampling width” in Resynthesizer), and the Blend size adjusts how big of a blend to allow when patching.I left the Blend size alone, but did increase the patch size to 25 (from the default of 7). I also increased the Lookup factor a bit to allow a bigger search radius from a given patch. Here are the results:

Now we’re talking! (mouseover to compare to Resynthesizer)
G'MIC Inpainting, patch size 25, lookup factor 0.5
This is a really nice result and I prefer the G'MIC version over the Resynthesizer output here. Being able to modify parameters to adjust how the algorithm approaches the problem really opens up many more possibilities.
Of course, here are some requisite samples using G'MIC, pulled from the previous samples I had done with Resynthesizer.
I think with just a small bit of experimentation we can get some really fantastic results. Particularly in places where it might have been harder for Resynthesizer to work well.
The best part is that this is already a part of G'MIC, and the team has been actively working to make it faster and better (I believe they are even presenting a paper on this topic later this year).
Personally, this is my future go-to for inpainting/content-aware-fill where I need it (not often, but when I do, boy am I glad we have options like this). If you haven’t already, you may want to give G'MIC a try (don’t forget there’s a ton of fun film emulation filters as well!).
Help support the site! Or don’t!
I’m not supporting my (growing) family or anything from this website. Seriously.There is only one reason I am writing these tutorials and posts:
I love doing it.
Technically there is a second reason: to give back to the community. Others before me were instrumental in helping me learn things when I first got started, and I’m hoping to pay it forward here.If you want to visit an ad, or make a donation, or even link/share my content, I would be absolutely grateful (and tickled pink). If you don’t it’s not going to affect me writing and posting here one bit.
I’ll keep writing, and I’ll keep it free.
If you get any use out of this site, I only ask that you do one thing:
pay it forward.


Just one thing: I'm viewing your site on a mobile browser, and you have a lot of images with "hover to see alternate version" - this doesn't work on a touchscreen! it would be nice if you could add an alternate way of selecting an image on comparisons.
ReplyDeleteCrap. I thought I had added a clickable link in the caption, but I didn't. Sorry! (This has bugged me for ages). I'll put a clickable link to trigger the image swap.
DeleteThanks for the tutorial David. Now that I understand what the sliders are doing, I'm getting excellent results.
ReplyDeleteWhat am I doing wrong? I get as far as the duplicate layer, making a selection, and filling it with red, but when I run the filter nothing happens and if I merge down the layer I get a red oval I can't get rid of.
ReplyDeleteGood question! I can't tell what might be wrong, but I can make some guesses...
DeleteThe basic steps I used:
1. duplicate layer i want to remove stuff from.
2. freehand select around object to remove
3. sharpen the selection to remove aliasing (Select → Sharpen).
4. Fill selection with full red color (255,0,0).
5. Run G'MIC with default parameters (to test).
Now, to be fair, I am using the latest beta of G'MIC, which I had to build - so perhaps your version is a little older than mine? I can zip up and link the one I built if it helps...
Might help. I am running GIMP 2.8.8 on 64 bit Win 7 if that makes a difference. Maybe I should update G'MIC first? I will try that and get back.
DeleteTed, be sure you're working on the new layer, not the old. Also be sure your patch color matches that in G'MIC (FF0000 by default I think).
DeleteI updated G'MIC and it is working now, at least on my Windows machine. It didn't work on my 64 bit Ubuntu 12.04 laptop, but I haven't updated that again yet.
DeleteSome of the most incredible feature displayed as new in the Photoshop,
ReplyDeleteGIMP are being able to play with it.
Knowledge must to be discovered only once.
Great job thank you
ReplyDeleteUnbelievable! I came here from BlenderNation because of your awesome 2.5D vids (which I plan on emulating) and learned all about this AWESOME addon.
ReplyDeleteIt's funny, because I've seen this 2.5D effect before, and just always assumed that, basically, you need to hire actual illustrators to have a credible effect for the dummy background. It never even occurred to me that there are programmers as skilled and clever as these men.
So great thanks to all the guys at G'MIC, and also to you for your great tutorial and examples!
Hah! Yeah, the results have been amazing, and these guys are doing just an incredible job tweaking the algorithm to make it better and faster!
DeleteThanks! (Just passing along the really cool stuff these folks are up to!)
Hi Pat,
ReplyDeleteThks for your good job with G'mic. I have a question: does G'mic translated in French or other languages, please?
That's a good question - the G'MIC team is french, so surely there must be a french translation at least? Check the site.
DeleteHi Patrick,
ReplyDeleteI had paint with the brush and the impainting color on my layer before to use Inpainting G'mic filter. But the result after the filter is bounded with a red line, why, please.
My brush was smoothless, just uniform red!
Hi Spirou4D!
DeleteChances are that even with a hard brush, there is anti-aliasing happening (the paint tool operates at the sub-pixel level).
To avoid this, either use the Pencil tool, or a selection as in my tutorial above.
Hope this helps!
Wow, that really did the trick! Both options worked for me. Thanks!
DeleteGreat tutorial. Highly informative.
thank you so much! I have been wanting to do this since a long time, but never dared because of the blender part. I ll share what I ll make of it : )
ReplyDeleteThank you very much for these nice explanations. I will take inspiration from your article to write about the same topic in french version.
ReplyDeleteHi, Patrick.
ReplyDeleteI have a "little" problem with G'Mic Inpaint [patch based]: after choosing the "Repair -> Inpaint [patch based]" plugin, the G'Mic informs me, that "No preview available" and nothing changed in selected region after clicking apply button, no matter what settings are applied.
When I choose output to new layer, G'Mic produces new layer, but the content is just pure copy of the selection.
What am I doing wrong, or what component is missing on my computer? Can You help?
Win7 64 bit, Gimp 2.8.10, G'Mic 1.5.8.2 (I tried with 32-bit and 64-bit version).
Thanks in advance for any tips.
Ok, got it working - I missed one step: creating new layer (or duplicate current layer) with painted color mask (and the color must correspond with the color of mask selected in plugin's dialog box). Maybe this step should be marked with different color as crucial for this function? ;) Now it's easy to skip this information, resulting in no effect after accepting the plugin settings.
ReplyDeleteThank You for Your great tutorials!
Very intresting article. I am looking forward to trying the GMIC tool. Thank you as always for your post.
ReplyDeleteI cant get this plug-in to work. I made a panorama and the cropping I wanted left a black block at the corner of the image from where the end of the panorama was. I want to use this process to fill in the black block. When I made a duplicate layer, then select the black region and fill with red, nothing happens for a long time. I think the plug-in is become unresponsive. Would you have any idea what is going on? Thanks
ReplyDeleteTwo things:
Delete1. What is the rough dimensions of the area you want to in-fill? The processing time/power requirements will increase drastically as the inpaint region becomes bigger.
2. You are remembering to deselect everything before running the filter, right?
Works on Slackware + GIMP, thanks for the tip Patrick! I had not heard about this one before. GMIC continues to amaze me.
ReplyDeleteKlaatu, how did you get the plug-in on Slackware? Didn't find precompiled versions yet..
ReplyDelete