

The most patient portrait model in the world...
Not too long ago I finally got around to picking up a decent manual flash for exploring lighting and speedlight techniques. I picked up a Yongnuo YN-560 Speedlight Flash for Canon and Nikon
I say mostly because though I had a rough understanding of how I wanted to use the light, I was not well versed on what could be done with it. So I spent a bit of time on the Flickr Strobist Group, and read through all of the Lighting courses on the Strobist site. There is an absolute wealth of information on the site, and I cannot recommend it enough.
Having a reference for how the contribution of different types of light will affect the final outcome is very handy for me. I've seen people who have taken the time to setup lighting diagrams where they will modify a given light for direction/angle, and cycle through many possibilities to help as a reference (Here is one cheat-sheet from DIY Photography).

This is nice, but what if I wanted to visualize the effect multiple lights will have all simultaneously? I guess I could go and shoot every, possible, variation, but I am really lazy. Plus, I don't have access to a model with the patience to sit there while I fiddle with multiple lights, multiple times.
It occurred to me that I already had a great tool for doing this visualization already installed on my computer. That tool is Blender 3D. I already had been using this open source 3D modelling tool for some time, and was familiar enough with it to be comfortable emulating my lighting setups. All I needed was a good model.
Infinite Realities released a full 3d scan by Lee Perry-Smith that was graciously licensed under CC-BY. This gave me a full 3D scan of a head & shoulders with the UV maps already created for textures, and a normal map to use for bumping. Perfect!
I loaded up the model and textures, and proceeded to create some lights in Blender that would mimic lights I might use in the real world.
I focused first on a softbox. I have a DIY 24" softbox I put together ages ago that I used as a primary light for some time. I wanted to emulate what I was getting as a result from that lightbox, virtually.

24" softbox 45° cam left, up 30°
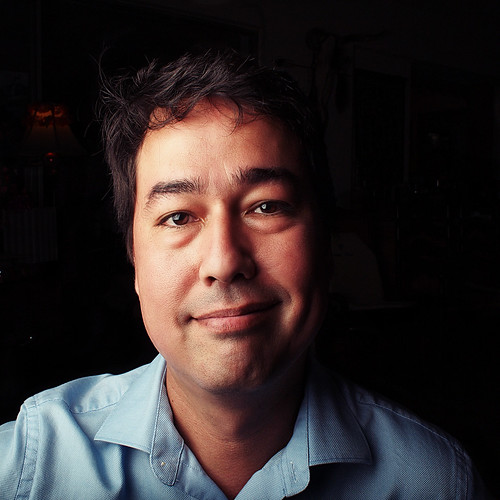
Moi
What's cool, though, is that I can now add any other type of light that I want easily to see what the effect will look like. Say I wanted to add a kicker behind me on the shadow side of that softbox?
24" softbox 45° cam left, up 30° with kicker behind ~ 45°
Or place 2 identical softboxes to either side of the subject...

24" softbox left and right of subject.
I can also emulate the effect of other types of light modifiers. If I wanted to use a ringflash only, I could do this...

Ringflash (or beauty dish if I wanted).
Or I could try any combination my heart desires! In this case, what about a clamshell setup, where I vary the power of the lower half of the setup...

Clamshell - top and bottom same power (both 24" softboxes)

Clamshell - top full power, bottom 25% (both 24" softboxes)

Clamshell - top full power, bottom 30% & kickers
I could go on and on with examples, but I think you get the idea.
Now, I'll go ahead and leave the .blend file here for anyone to download and use. Don't forget that you'll need to grab Blender as well (download Blender here).
Download Lighting .blend File (27MB)
Dropbox has suspended my public links because of traffic - So I've mirrored the file on Google Docs (sorry for any inconvenience):
Download the .blend (Google Docs - File → Download) [27MB]
A few quick words of note to help out if you're new to Blender. Right-click will select an object (it will turn orange). The "A" key will select all, and cycle to select none if you hit it again.Dropbox has suspended my public links because of traffic - So I've mirrored the file on Google Docs (sorry for any inconvenience):
Download the .blend (Google Docs - File → Download) [27MB]
The softbox shown in the initial startup is set to always point at the model (so is the camera, btw), and to stay a set distance from them (approximately 2 feet). With the object selected (like the softbox), the "G" key will allow you to move it in a view, and the "R" key will allow you to rotate it in a view. The main window is what the camera is seeing, and there are side and top views right next to it.
Most importantly, the F12 function key will render your image for you!

I did intend to try to make this more user-friendly. The key word there was "intend" as it's a royal PITA to do so. I may fiddle with it more if there is any response or interest, and try to help out where I can.
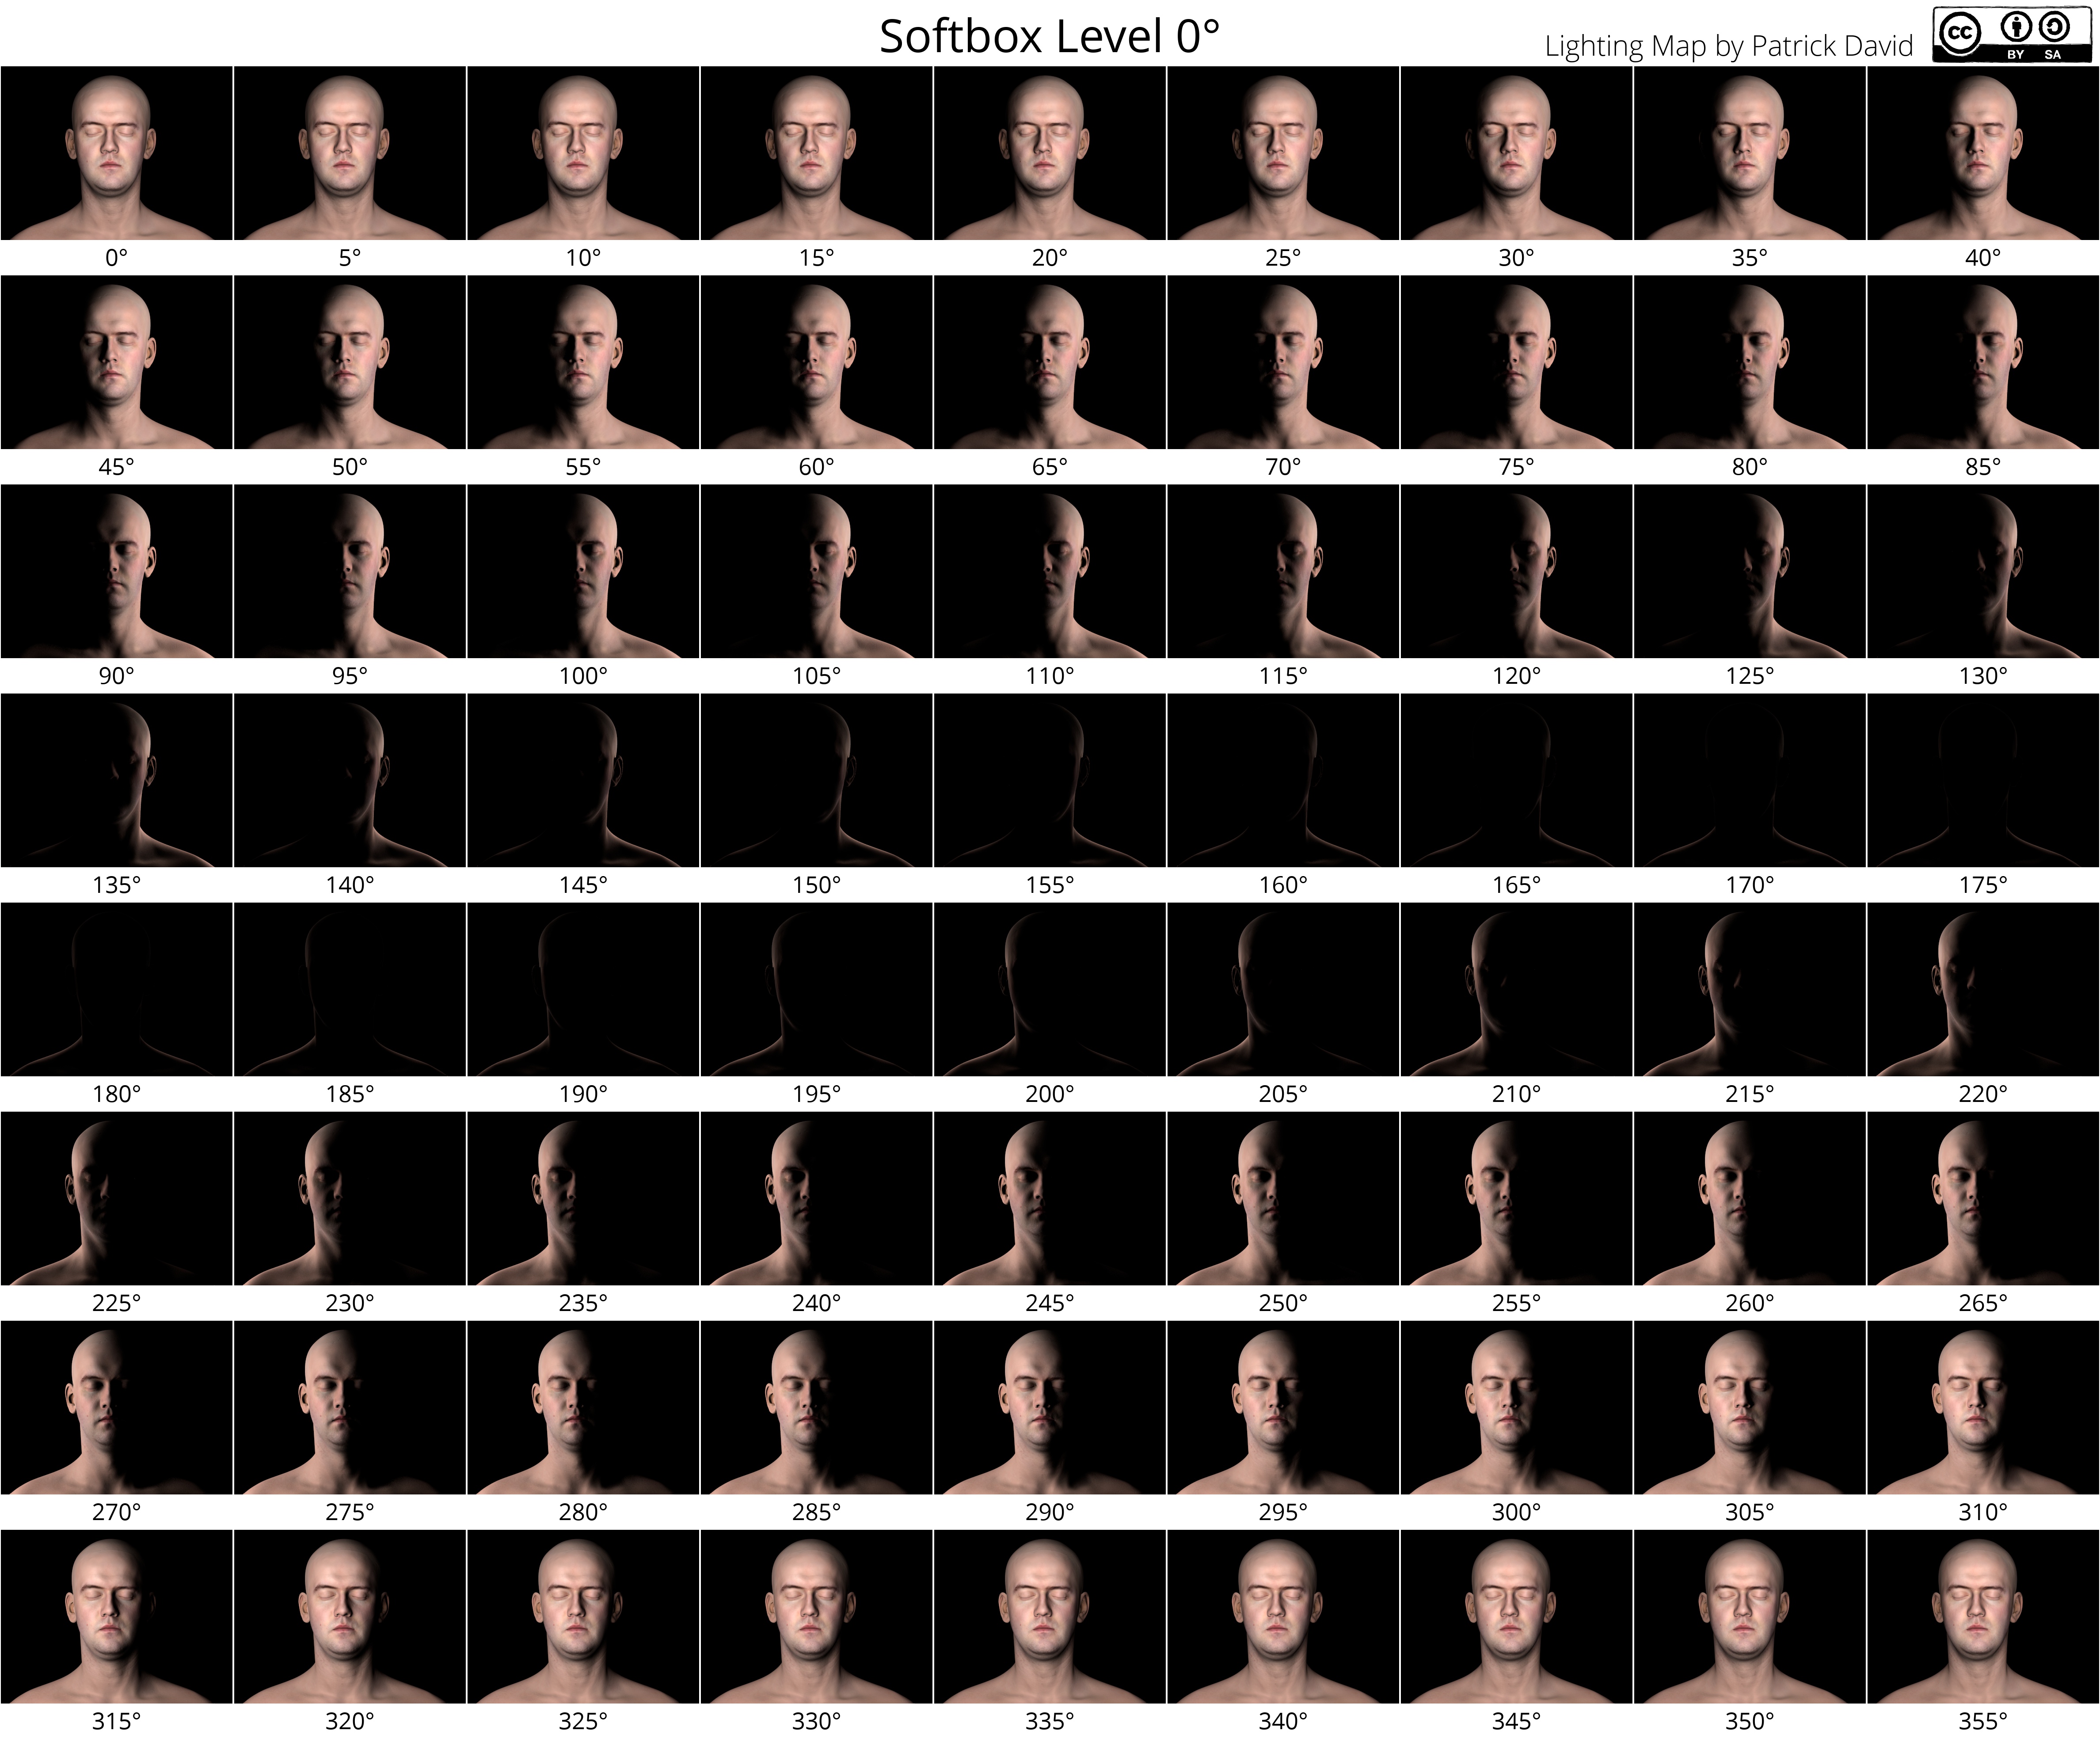
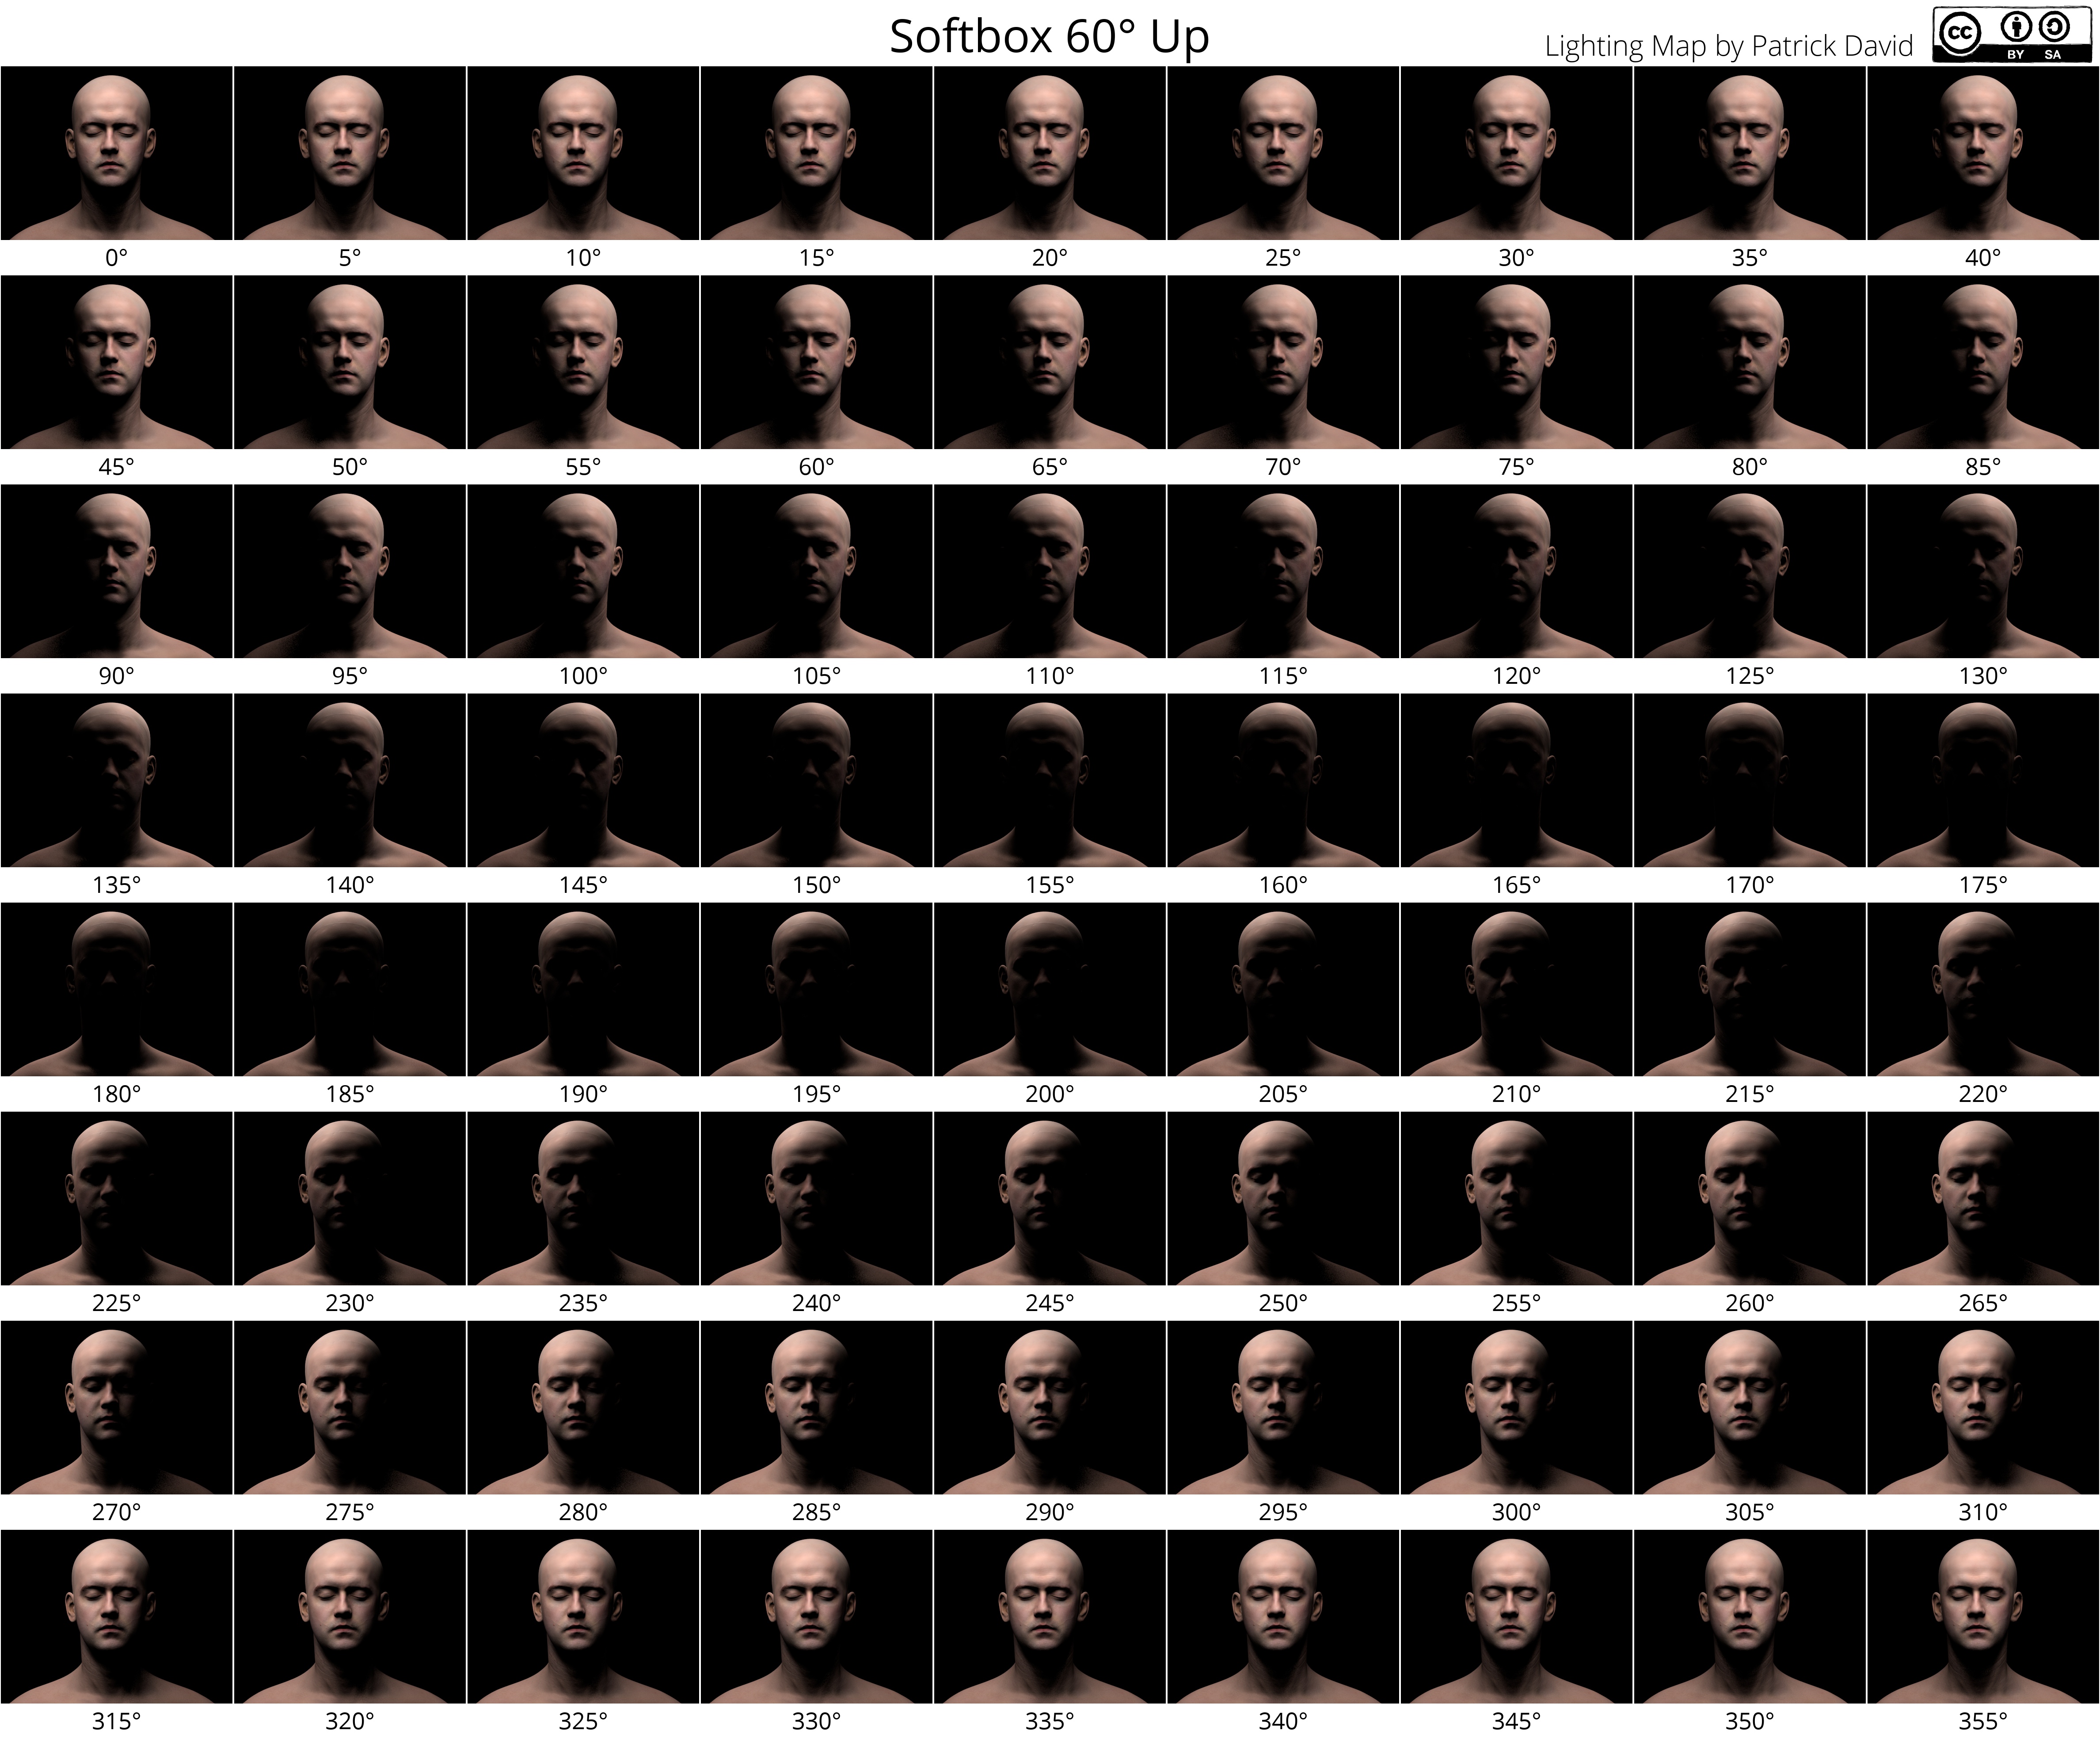
Lighting Maps
In the meantime, I generated the obligatory light map cheat sheet from all of the different renders. There are three here, one for the softbox level, at 30°, and at 60°. All of them move the softbox around the subject in 5° increments.


Feel free to use these cheat sheets however you see fit! Hopefully this will be helpful to at least a few people who might be brave enough to tackle the Blender interface to try this out. I know it's been quite helpful for me to be able to quickly setup a scene and visualize what it will look like ahead of time!
Bonus
I've zipped up all of the individual .png renders that I used to make the light maps with above. You can use these in your favorite image editors to combine them to see the effects of multiple lights on the model (open one version you like, then add another version as a new layer above it and change it's blending mode to "Screen".Download 0° .zip
Download 30° .zip
Download 60° .zip
These are hosted on Google Docs, so after following the link, hit File → Download.
Enjoy!
Questions or feedback? Let me know in the comments below!
Bonus Bonus!
Jimmy Gunawan has gone ahead and taken this a step further by enabling use of the new Blender Cycles Render engine with this model. If you're not sure what it's about - have a look at his youtube video doing the conversion and see how great it is rendering in the viewport the way it does:
You can check out more of his great stuff at Blender Sushi!
Download the cycles version created by Jimmy!

Cool stuff, thanks for putting this together, Patrick!
ReplyDeleteI had thought about doing similar, but wasn't familiar with any of the current 3D modeling software. This is done much much better than I ever could have. Awesome.
ReplyDeleteThanks, I'm glad you guys found it helpful in some way! :)
ReplyDeleteSaw these posted on flickr a day or so ago. Now they are blowing up all over the web. Getting bombarded in my feeds.
ReplyDeleteGreat work you have done here!
Hey Patrick, thank you for all your efforts about this special topic. I know how much work this must have been.
ReplyDeleteThanks from Dortmund, Germany,
Markus
Thank you all for the kind comments! I was hoping some people might find it useful, and the response has been amazing to me! :)
ReplyDeleteThank you - I used to be critical about using 3D renders for lighting tutorials, but you have turned me around.
ReplyDeleteI really appreciate that you made the model downloadable as well - thank you!
Is there any chance to make the model with the eyes open as well? Would be great being able to try out different lighting scenarios and how they affect the reflection in the eye.
That was the first thing I thought too. Eyes are critical for portraits.
DeleteCool stuff. Thank you very much for sharing!!!
ReplyDeleteThis really helps me see the difference between setups. Thanks for taking the time......
ReplyDeleteThanks for sharing this precious reference!
ReplyDeleteI am wondering why this file does not render if I switch to Blender Cycles.
I see... I found out why it doesn't render in Blender Cycles, you are using BMP for images. Converting those to PNG fixed it.
ReplyDeleteThanks for your good job and good refs :)
ReplyDelete@Jimmy Gunawan : cycles doesn't like images integrated inside the .blend. just save it externally (any ext).
thanks so much for this! Very well done and super useful for 3D artists as much as photographers.
ReplyDeleteYou're all very welcome! I'm amazed at the response this little test of mine produced! :)
ReplyDelete@Jimmy Gunawan - I've sent you an email to clarify what I'm doing wrong in cycles - if I can work it out I'll definitely update this post. Thanks for pointing that out.
I was really blown away by this Lighting Map setup you did. You actually created a history here, Pat :)
DeleteThank you for sharing this brilliant reference for Blender. It is really beneficial for both computer graphics and photographers community. Your timing is just perfect, because Blender Cycles has just officially been released for version 2.62.
Ok, with Cycles, it is actually quite simple and you will love using it once you got used to the way you can setup Material, light it and view it in real time. You can even do realtime DOF preview.
You only need to do few steps to set it up so your lighting map studio lighting is Blender Cycles ready. I recorded a quick demo:
http://youtu.be/irLcpDdnkcM
I think joining the mesh might be a good idea too.
It is just a matter of time before we finally have real time Subsurface Scattering just like shown on this research demo:
https://vimeo.com/36048029
(That is a big wishlist for Blender developers working on Cycles!)
Anyhow, thanks again for sharing this setup, Pat. This really rocks!
How do you add extra lights? Im not familiar with Blender and have been playing about with it for long enough!
ReplyDeleteIf you are in a 3D view window, hit the spacebar, then type in "Add Lamp".
DeleteYou'll be able to choose the light type: Point, Sun, Spot, Hemi, Area.
Then it will add the lamp to your scene. You can move it around if it's selected (highlighted) by hitting the "G" key.
Thanks for sharing Patrick - really helps to see 'almost' real world representations.
ReplyDeleteSteve H
Great work, exactly what I've been looking for!
ReplyDeleteCheers.
This comment has been removed by a blog administrator.
ReplyDeleteHi Pat, great article, I posted a link too it on my FaceBook group Open Source Photography (http://www.facebook.com/groups/326042310770868/), hope you don't mind, and would love to have you there, it's an open group, so anyone can join.
ReplyDeleteFantastic! I don't personally use facebook, but I am glad there is at least an Open Source group there! If anything else seems like it might be interesting for your group, feel free to link anything here.
DeleteAmazing! I had this idea about a year ago, I'm fairly advanced in photoshop but completely naive in blender or any other rendering software, so I've been studying the math and rendering papers to get the understanding of it before tackling blender. But you've done it! This is really great, now I am very motivated to learn blender as well as I know photoshop because you have proved it is possible and does exactly what needs to be done to visualize the lighting setup. Thanks very much for your effort and posting.
ReplyDeleteYou're very welcome, and I'm glad it's been helpful to someone! Good luck in your path learning Blender (don't let it intimidate you, it's not so bad once you get used to a few things).
DeleteThank you. This is realy great.
ReplyDelete(And long life to free software).
Guys as a blender user for about 2 years, I can 100% relate to when you first give it a shot and it seems too much BUT!
ReplyDeleteIf you use photoshop WELL, then your already doing something more advanced than blender is...
Don't get me wrong that's only blender basics and trust when I say blender is a HUGE piece of software to explore for free!
I'm now after two years deciding whether I can go professional or keep it up as a hobby!
And I'm afraid to say I still don't know enough to go pro!
Wow this is just what I needed, I was about to venture into the world of lighting, and external flash myself. It occurred to me that I may need to exoeriment , and I got it in my head to go buy a bust to use, but then of course the issue of texture came up, which I hadn't figured a work around for, so this will really save me a lot of money, time, effort, and frustration. So thank you and I know you were thinking this, but this may very well become the template everyone uses to learn from.
ReplyDeleteYou could put this in a book.