
Showing posts with label retouching. Show all posts
Showing posts with label retouching. Show all posts
Mairi Trois

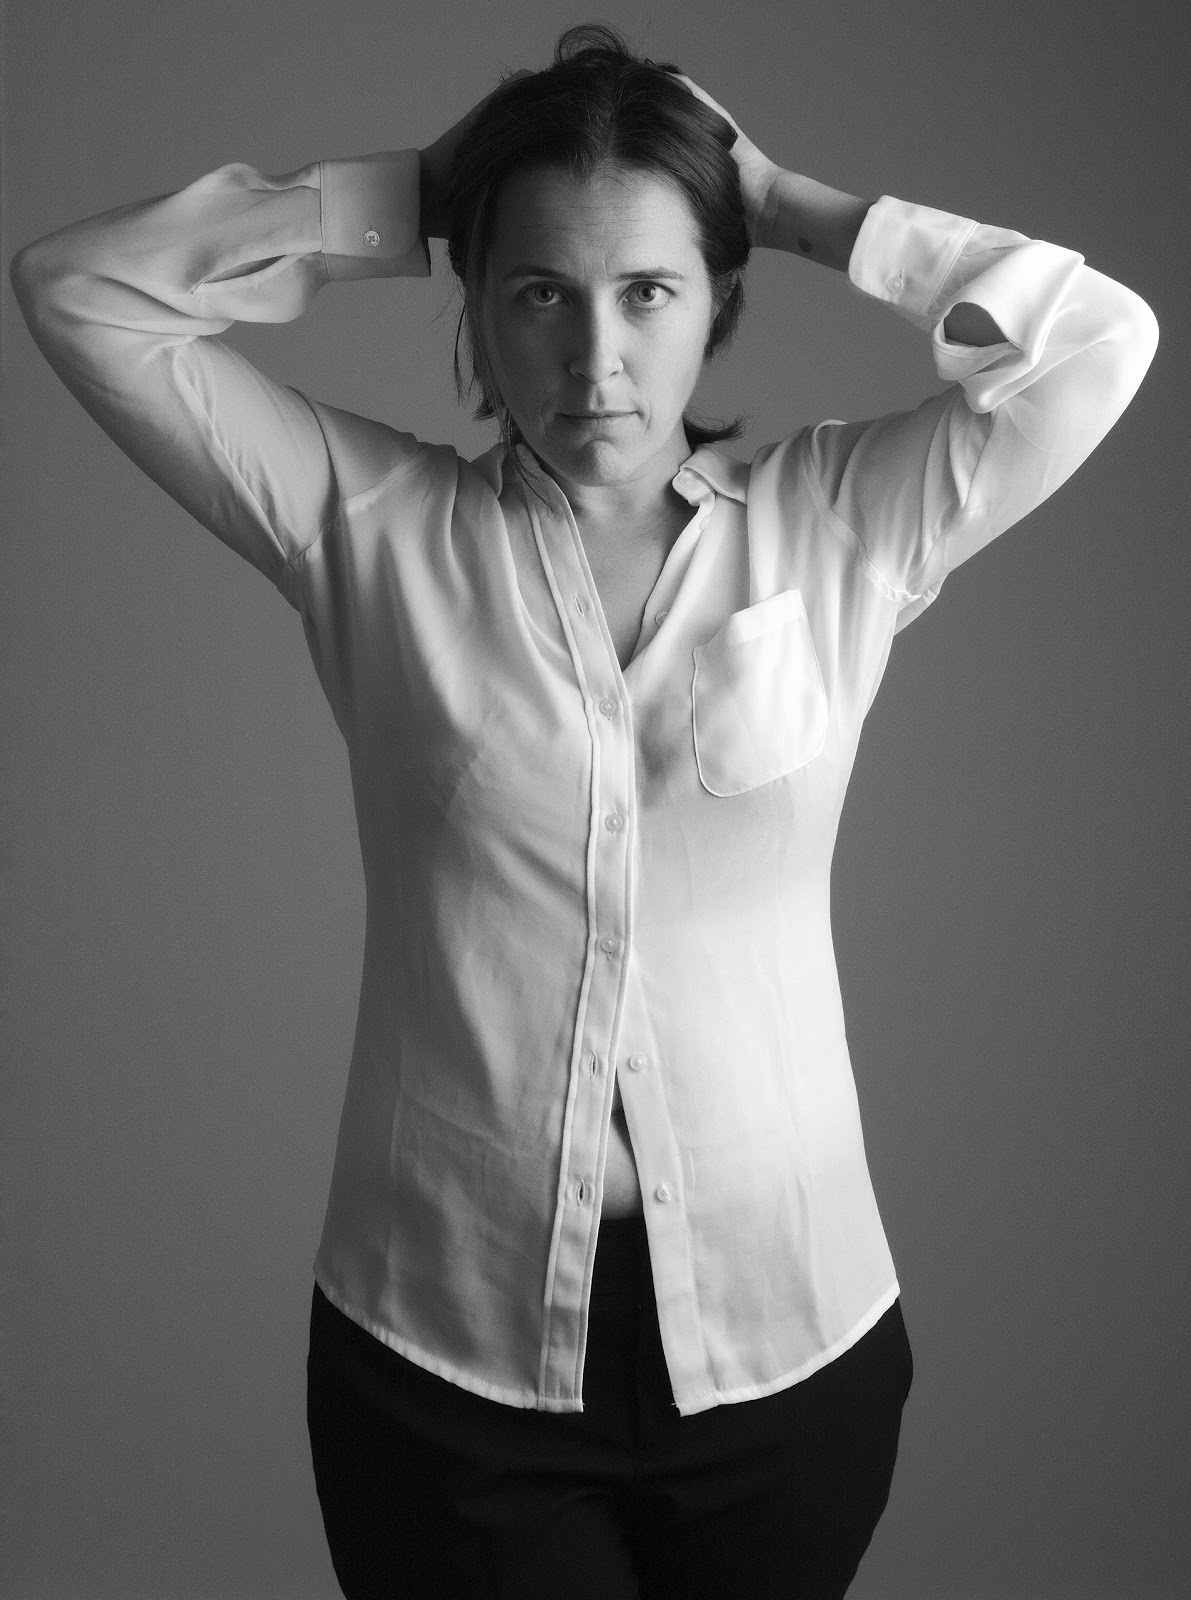
Readers who've been here for a little while might recognize my friend Mairi, who has modeled for me before. This time I had a brief opportunity for her to sit for me again for a few shots before she jet-setted her way over to Italy for a while.
I was specifically looking to produce the lede image you see above, Mairi Troisième. In particular, I was chasing some chiaroscuro portrait lighting that I had in mind for a while and I was quite happy with the final result!
Of course, I also had a large new light modifier, so bigger shots were fun to play with as well:

Those two shots were done using a big Photek Softlighter II [amazon] that I treated myself to late last year. (I believe the speedlight was firing @3/4 power for these shots).
It wasn't all serious, there were some funny moments as well...

Of course, I like to work up close to a subject personally. I think it gives a nicer sense of intimacy to an image.


Culminating at one of my favorites from the shoot, this nice chiaroscuro image up close:

It's always a pleasure to get a chance to shoot with Mairi. She's a natural in front of the camera, and has these huge expressive eyes that are always a draw.
Later this week, an update on PIXLS.US!


Wavelet Decompose (Again)
Yes, more fun things you can do with Wavelet Scales.
If you’ve been reading this blog for a bit (or just read through any of my previous postprocessing tutorials), then you should be familiar with Wavelet Decompose. I use them all the time for skin retouching as well as other things. I find that being able to think of your images in terms of detail scales opens up a new way of approaching problems (and some interesting solutions).
A short discussion on the GIMP Users G+ community led the member +Marty Keil to suggest a tutorial on using wavelets for other things (particularly sharpening). Since I tend to use wavelet scales often in my processing (including sharpening), I figured I would sit down and enumerate some ways to use them, like:
If you’ve been reading this blog for a bit (or just read through any of my previous postprocessing tutorials), then you should be familiar with Wavelet Decompose. I use them all the time for skin retouching as well as other things. I find that being able to think of your images in terms of detail scales opens up a new way of approaching problems (and some interesting solutions).
A short discussion on the GIMP Users G+ community led the member +Marty Keil to suggest a tutorial on using wavelets for other things (particularly sharpening). Since I tend to use wavelet scales often in my processing (including sharpening), I figured I would sit down and enumerate some ways to use them, like:
Meet Sarah

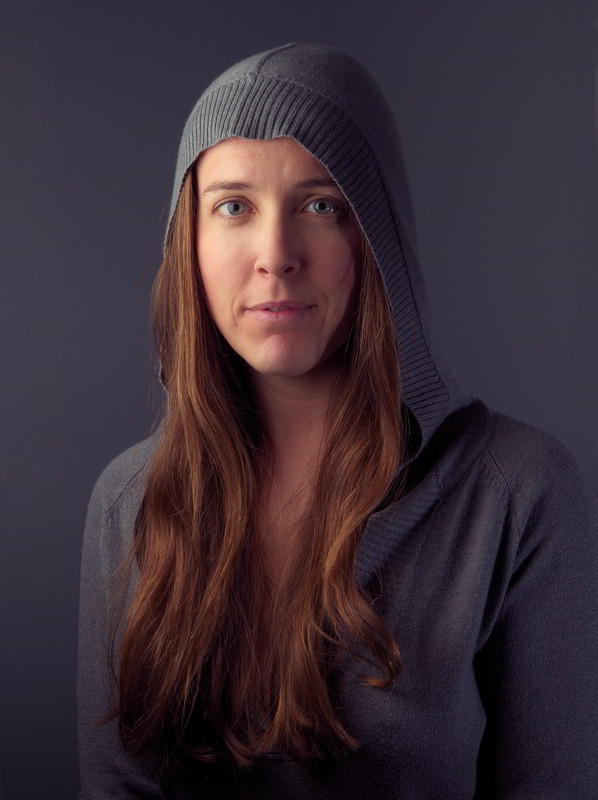
Sarah has been shooting with my friend Brian for a while now. He and I recently tried to organize to shoot together, but unfortunately he was called away at the last moment. Which was a bummer, because I had also just purchased a 60” Photek Softlighter II
 , and was super-eager to put it through its paces...
Luckily Sarah was still good to do the shoot! (There were some initial hiccups, but we were able to sort them out and finally get started).
There were two aspects to obtaining these results I thought it might be nice to talk about briefly here, the lighting and the post work...
GIMP Magazine Issue 5 Released
The team over at GIMP Magazine have released their latest issue, and check out that handsome gentleman on the cover!

“I’m pretty sure there’s a lot more to life than being really, really, ridiculously good looking.”
— Derek Zoolander
Yep, +Steve Czajka and crew have pushed out yet another great issue of the magazine, and I’m not just saying that because my ugly mug is gracing the cover. This issue has my portrait retouching tutorial with the wonderful Mairi, and a really neat tutorial for emulating the results of an old analog photographic process (really old), Gum over Palladium, by +Christopher Perez. +Debi Dalio also reviews Tux Paint for kids!
Personally, I would have gone for a better looking cover model, like Mairi from the tutorial:
An Open Source Headshot (Ronni) (Postprocessing)
In my previous post I had to do a bit of fiddling to bring my relative exposures back into line with each other (while retaining hair details from being blown out). Now that the image has been corrected, I’m ready to begin my normal workflow for retouching.
To give us an idea of what we’re working towards, here’s my final result for this image:

The results I will be working towards.
After my corrections in the previous post, here’s the image I’ll be starting with:

My base starting image.
There’s a few different ways to approach retouching this image, and it’s really dependent on the personal preferences of the retoucher. Some may like to fiddle with colors and tones first to set a mood, or possibly look more at general cropping/layouts to taste for instance. There’s quite a few ways to begin, so I can only speak to what I personally like to do.
The rest of my GIMP tutorials can be found here:
Getting Around in GIMP
Getting Around in GIMP
To give us an idea of what we’re working towards, here’s my final result for this image:
The results I will be working towards.
After my corrections in the previous post, here’s the image I’ll be starting with:

My base starting image.
There’s a few different ways to approach retouching this image, and it’s really dependent on the personal preferences of the retoucher. Some may like to fiddle with colors and tones first to set a mood, or possibly look more at general cropping/layouts to taste for instance. There’s quite a few ways to begin, so I can only speak to what I personally like to do.
Getting Around in GIMP - Blue Channel Check Layer (Retouching)
In my previous post for the Open Source Portrait (Postprocessing), I had mentioned during the skin retouching in GIMP section that there was a method that I had used in the past for helping to make skin imperfections visible for healing.
It is a similar method described by Calvin Hollywood (again), that he calls "Check Layers". He explains what they are and how he uses them in the video below:
If you don't want to watch the video, the basic idea came about from my experience when converting images to B&W. That is, the Blue channel of a color image is not flattering at all for skin (unless you have flawless skin). Conversely, the Red channel usually has very pretty skin tones (and hence it's common to overlay a Red channel on your image and set it to Overlay blend mode to enhance this).
What Calvin Hollywood shows in his video is using a Photoshop adjustment layer to turn the image into grayscale, and to turn down the contribution from the Red channel, while increasing the Blue channel. This results in a more contrasty image that favors the blue channels, and will make skin imperfections much more visible.
The problem is that we don't have adjustment layers in GIMP...
The rest of my GIMP tutorials can be found here:
Getting Around in GIMP
Getting Around in GIMP
It is a similar method described by Calvin Hollywood (again), that he calls "Check Layers". He explains what they are and how he uses them in the video below:
If you don't want to watch the video, the basic idea came about from my experience when converting images to B&W. That is, the Blue channel of a color image is not flattering at all for skin (unless you have flawless skin). Conversely, the Red channel usually has very pretty skin tones (and hence it's common to overlay a Red channel on your image and set it to Overlay blend mode to enhance this).
What Calvin Hollywood shows in his video is using a Photoshop adjustment layer to turn the image into grayscale, and to turn down the contribution from the Red channel, while increasing the Blue channel. This results in a more contrasty image that favors the blue channels, and will make skin imperfections much more visible.
The problem is that we don't have adjustment layers in GIMP...
The Open Source Portrait (Postprocessing)
In my previous post I walked through the concept and shoot of my portrait of Mairi. At this point all I've got are a bunch of RAW (and jpg) files of the shoot. I know that I forgot to mention it in the last post, but for goodness sake if you can shoot RAW - do it. (It saved my butt with this image, as you'll see below).
Also, you'll be able to download my RAW file, and JPG output from RawTherapee below.
And to whet your appetite, here is the final result of all of the postprocessing of my portrait (mouseover to compare it to no retouching):
The final result I'm aiming for
Mouseover to compare to unretouched version
Also, you'll be able to download my RAW file, and JPG output from RawTherapee below.
The previous tutorial in this series is here:
The Open Source Portrait (Equipment & Environment)
The Open Source Portrait (Equipment & Environment)
This is a long post.
Seriously, this is the longest post I've ever written.
I'm walking through many of the things I had previously written tutorials for, and apply them to a process this time so you can see them as part of a workflow.
So, here's a Table of Contents so you can jump to the section you need:
Seriously, this is the longest post I've ever written.
I'm walking through many of the things I had previously written tutorials for, and apply them to a process this time so you can see them as part of a workflow.
So, here's a Table of Contents so you can jump to the section you need:
- Picking Your Image
- RAW Processing
- GIMP Retouching
- Touchup Hair
- Fixing the Background/Cropping
- Skin Retouching & Wavelet Decompose
- Contour Painting Highlights
- Color Curves
- Sharpening
- The End
Download the .ORF RAW file [Google Drive]
Download the full resolution JPG from RawTherapee.
Download the Full Resolution .XCF file [.7zip - 265MB]
If you want to use the .XCF file just to see what I did, I recommend the ½ resolution file, as it's smaller.
Download the ½ Resolution .XCF file [.7zip - 60MB]
Download the full resolution JPG from RawTherapee.
Download the Full Resolution .XCF file [.7zip - 265MB]
If you want to use the .XCF file just to see what I did, I recommend the ½ resolution file, as it's smaller.
Download the ½ Resolution .XCF file [.7zip - 60MB]
These files are being made available under a Creative Commons Attribution, Non-Commercial, Share Alike license (CC-BY-SA-NC).
You're free to use them, modify them, and share them as long as you attribute me, Pat David, as the originator of the file. You're not allowed to use these images for Commercial purposes.
You're free to use them, modify them, and share them as long as you attribute me, Pat David, as the originator of the file. You're not allowed to use these images for Commercial purposes.
And to whet your appetite, here is the final result of all of the postprocessing of my portrait (mouseover to compare it to no retouching):

The final result I'm aiming for
Mouseover to compare to unretouched version
Mairi
I finally got a chance recently to quickly photograph my friend Mairi.
She's a beautiful woman who happens to be a keen-eyed photographer as well. The best part, though, is that she has modeled in the past, which made her the perfect person to shoot with!

She's a beautiful woman who happens to be a keen-eyed photographer as well. The best part, though, is that she has modeled in the past, which made her the perfect person to shoot with!
Getting Around in GIMP - Heal Selection (Resynthesizer)

I've been reading through a ton of hyperbole about Adobes Photoshop "Content Aware Fill" for some reason lately ("magical", "incredible", "amazing" and others are fun to read).
I don't think I would be too far off in assuming that Adobes implementation is likely based off the wonderful work of Dr. Paul Harrison. Dr. Harrison's PhD thesis just happened to yield the code that gave GIMP users the Resynthesizer plugin, which has provided us a "Content Aware Fill" for quite a while now (since before 2005).
If you've ever spent any time with the Clone Tool or Heal Tool in GIMP, and haven't tried out Heal Selection with Resynthesizer, then you might find the results of this filter very helpful.
Getting Around in GIMP - Color Curves Toning/Grading
Color has this amazing ability to evoke emotional responses from us. From the warm glow of a sunny summer afternoon to a cool refreshing early evening in fall. We associate colors with certain moods, places, feelings, and memories (consciously or not).
Book have been written on color, and I am in no ways even remotely qualified to speak on it. So I won't.
Instead I am here today to maybe help shed some light on the use of the Curves tool in GIMP.
Book have been written on color, and I am in no ways even remotely qualified to speak on it. So I won't.
Instead I am here today to maybe help shed some light on the use of the Curves tool in GIMP.
Getting Around in GIMP - Skin Retouching (Wavelet Decompose)


I have looked around quite a bit for a good method in GIMP to smooth skin for portrait work. I did find a few tutorials, but they all were mainly concerned with using Gaussian blur with a layer mask to "smooth" the skin. The results were almost always less than satisfactory.
The rest of my GIMP tutorials are all listed here: Getting Around in GIMP
For more examples of this technique at work, have a look at:
my recent shoot with Mairi!
Want to see Wavelet scales as part of a complete portrait retouching workflow? Check here:
The Open Source Portrait (Postprocessing)
For more examples of this technique at work, have a look at:
my recent shoot with Mairi!
Want to see Wavelet scales as part of a complete portrait retouching workflow? Check here:
The Open Source Portrait (Postprocessing)
Then I found the Wavelet Decompose plugin, and the search was mostly over for me.


I thought it might be helpful to walk through the theory as I approach it for skin retouching/smoothing, and how Wavelet Decompose fits into my workflow.
Subscribe to:
Posts (Atom)